
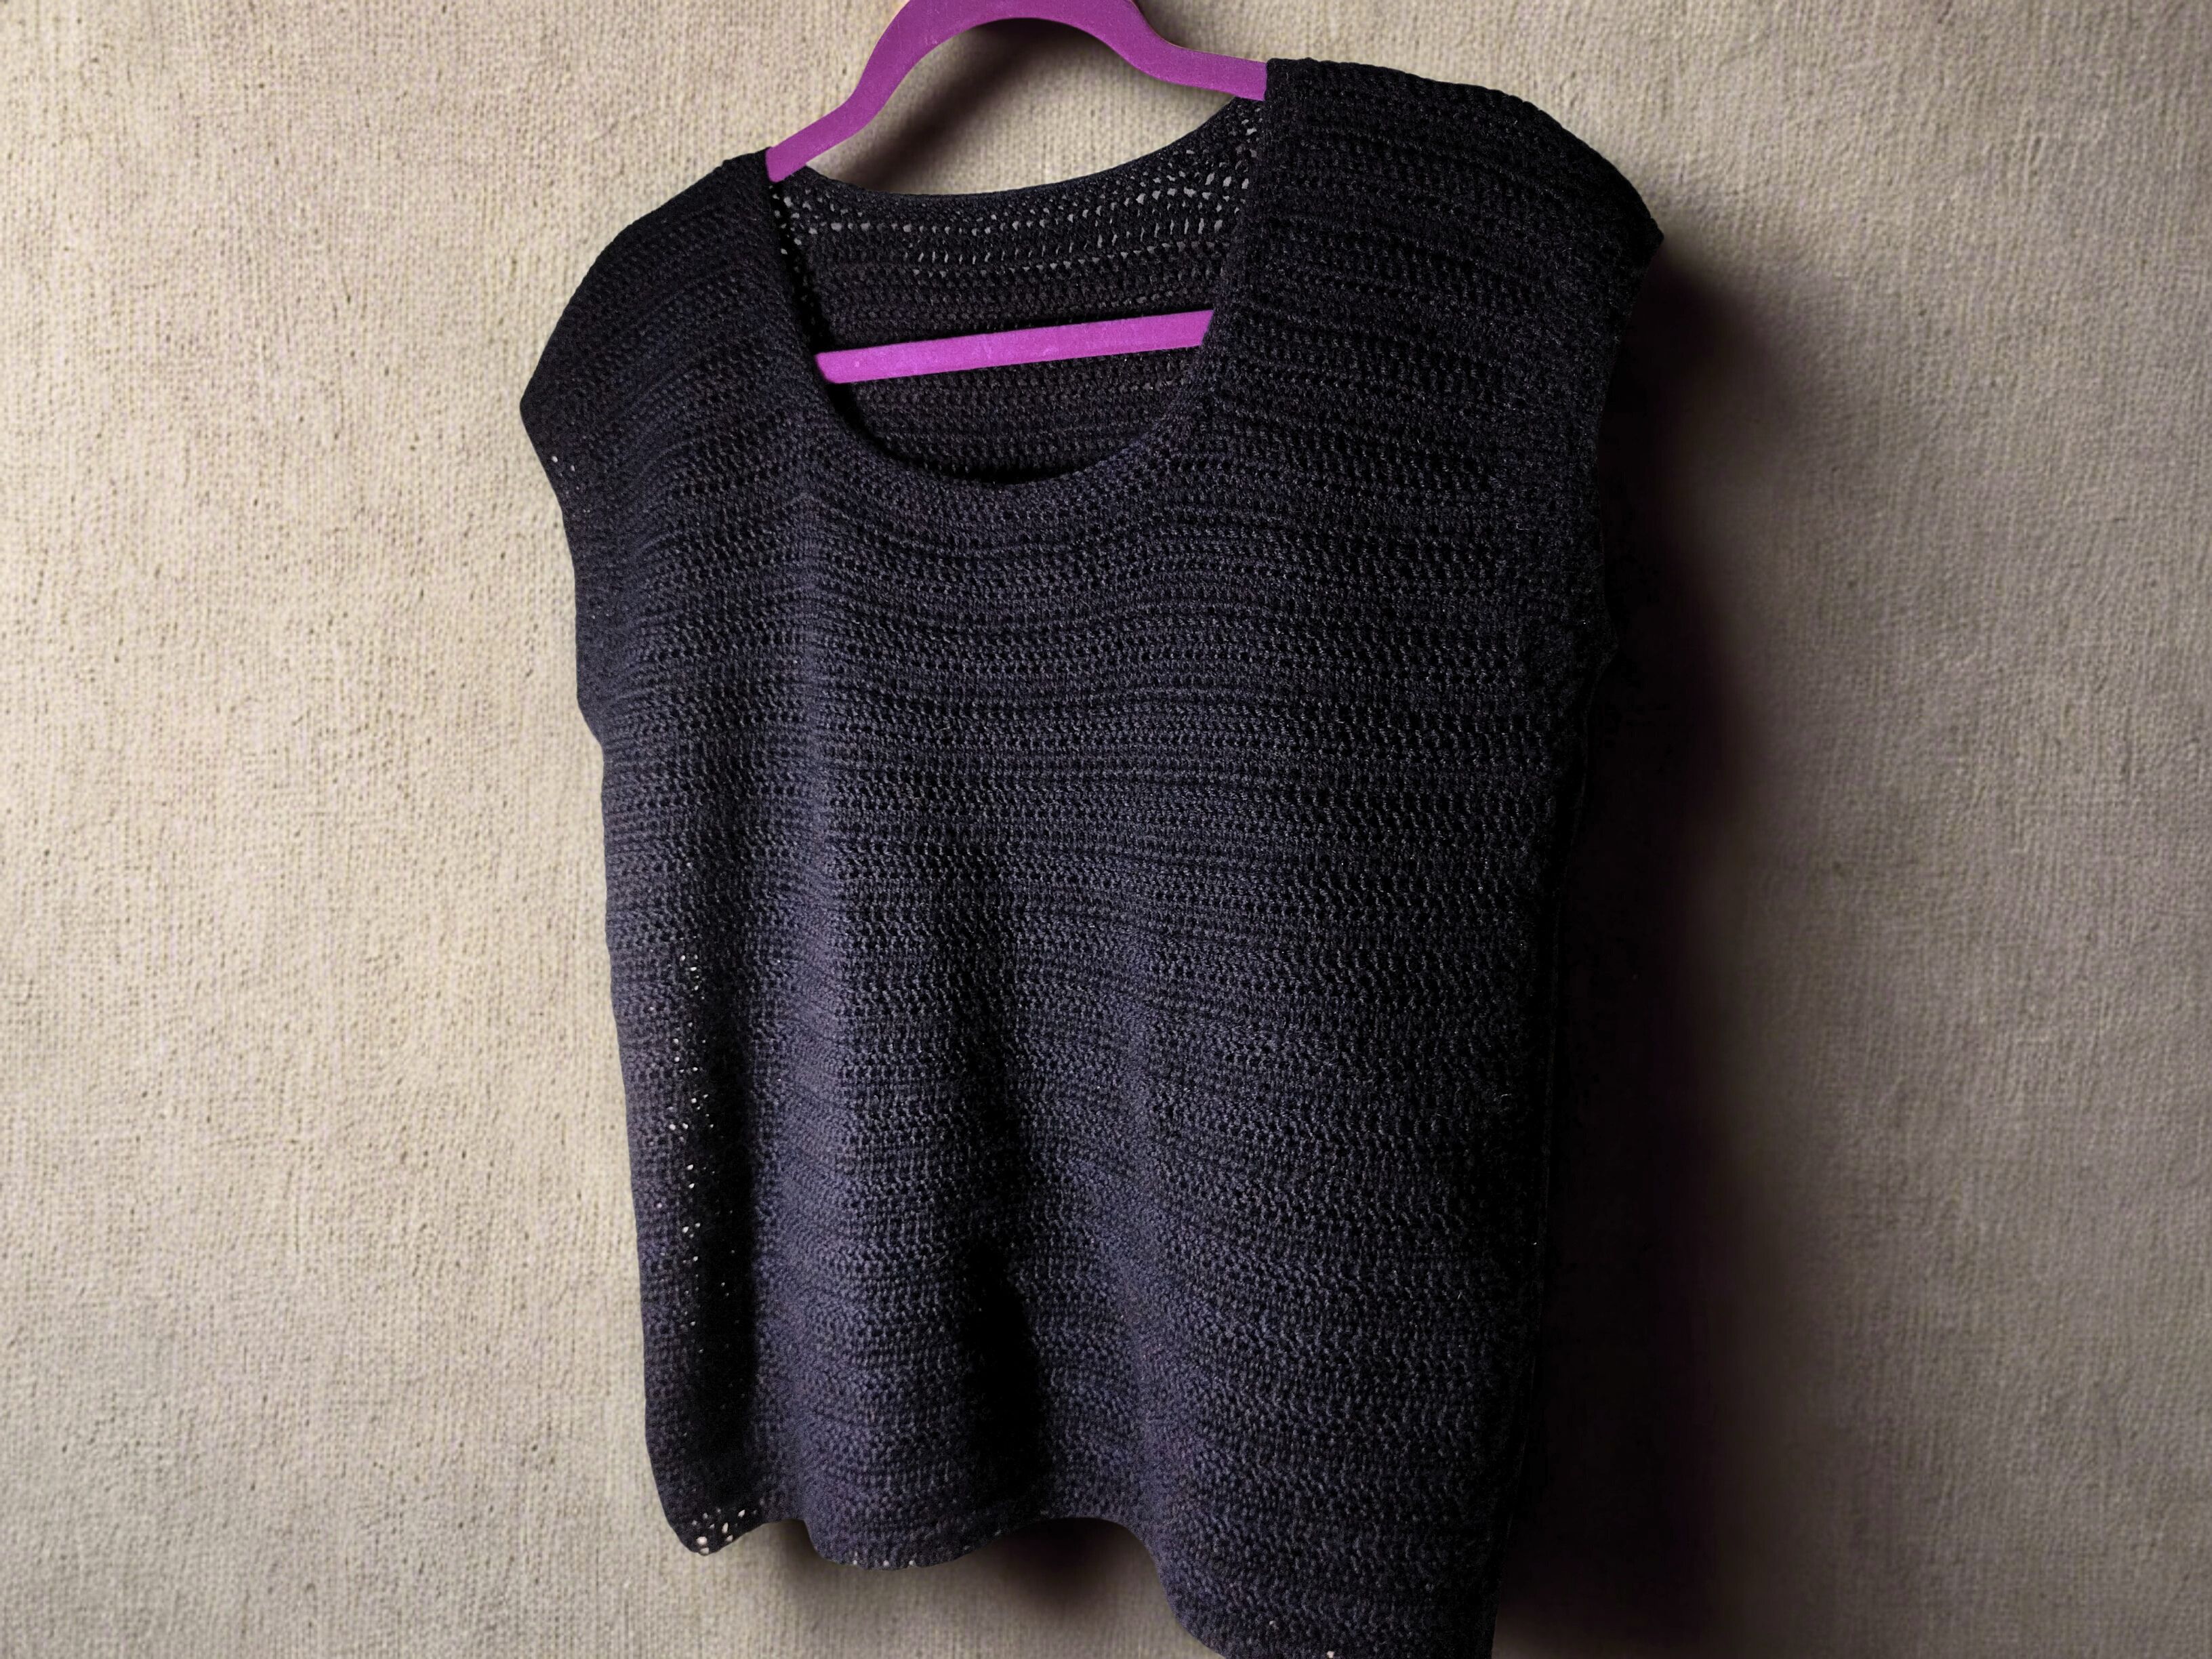
This crochet vest is worked without a fixed pattern, using a custom stitch variation called the linked triple crochet stitch.
Rather than following stitch counts, this tutorial focuses on understanding fabric behavior, shaping through simple increases and decreases, and adjusting the garment to your own measurements.
You can find the linked triple crochet stitch presentation in the video below.
The video is hosted on YouTube for easy viewing, while detailed written guidance is provided in this post: Linked Triple Crochet Stitch Tutorial
Watch the stitch video:
Before You Begin: Gauge and Fabric Behavior
Before starting the project, make a gauge swatch by crocheting a 10 cm × 10 cm square using the linked triple stitch.
Lightly steam iron the swatch to observe how the fabric behaves.
This step will help you understand the final drape of the fabric and adjust your measurements before beginning the vest.
For the vest shown, a 5 mm crochet hook and a fine-weight merino wool yarn were used for the main body to achieve a loose, and comfortable drape.
For a denser and more structured fabric, a 3.5 mm or 4 mm crochet hook can be used instead, depending on your personal tension and the yarn chosen.
For the elastic ribbing, a 4 mm crochet hook was used to create a firmer band.

Beginning the Front Piece
Once you have an understanding of the fabric’s behavior, chain the number of stitches needed to create the front piece, based on your desired width.
Work rows of linked triple (ltr) stitch until the fabric reaches the desired length and you arrive at the point where armhole shaping will begin.

Increases and Decreases
Even Increases
To increase evenly on both sides:
- At the beginning of the row, work two linked triple stitches (2 ltr) into the second stitch of the row.
- At the end of the row, work two linked triple stitches (2 ltr) into the stitch one stitch before the final stitch.
This adds one stitch on each side and keeps the shaping balanced.
(Work on row of increases every other row, as and if needed. )
Even Decreases
To decrease evenly on both sides:
- At the beginning of the row, slip stitch into the first stitch, then chain 2 and continue working in ltr.
- At the end of the row, omit the last stitch.
This creates a clean, gradual decrease.
(Work a row of decreases every other row as and if needed. )

Bust and Armhole Shaping
As you reach the armhole point, work an even increase (or more, depending on the width you’ve already set for the crochet fabric) to fit the bust line, (increasing on alternate rows if needed: one row with shaping, one row without).I only used one row of evenly spaced increases to shape the vest, since I didn’t crochet a tight garment.
Once the fabric fits the bust comfortably, begin working even decreases on every second row. These decreases shape the armhole and sleeve line.
You will be able to see the shaping develop as you work and understand how the fabric is being formed.
Neckline Shaping
Once you are ready to shape the neckline, count the total number of stitches across the row.
Decide how many stitches you want to leave unworked at the center of the piece to form the neckline opening. Subtract these stitches from the total stitch count, then divide the remaining stitches evenly into two identical sections, left and right. This centers the neckline and keeps the garment symmetrical.
To begin shaping the neckline, work the left and right sections separately, crocheting each side independently until the front piece is complete.

Fisishing off the Sleeves while structuring the neckline.
First Sleeve
With the right side of the fabric facing, begin working one sleeve section.
Work linked triple (ltr) stitches across the number of stitches counted for the sleeve.
At the end of the row, chain 2 and turn.
To shape the sleeve and neckline:
- Decrease one stitch at the beginning of the row.
- Work across in ltr, then decrease one stitch at the end of the row.
- Chain 2 and turn.
Repeat these decrease rows for as long as needed to narrow the sleeve and widen the neckline.
Once shaping is complete, continue working straight in ltr rows, until the sleeve reaches the desired length to finish off the front piece.
Second Sleeve
With the right side of the fabric facing, skip the stitches counted for the neckline and join your yarn.
Chain 2, then work a row of ltr stitches across the sleeve section.
Chain 2 and turn.
- On the next row, work one decrease at the end of the row.
- On the following row, slip stitch into the first stitch, chain 2, and work ltr to the end.
Continue shaping by mirroring the rows and decreases used for the first sleeve, ensuring both sides are symmetrical.

Back Piece
To create the back piece, follow the same construction and shaping steps as for the front.
Begin shaping the neckline a few rows later than on the front piece, keeping the back neckline shallower. Continue working the sleeves and shoulders in the same way.
Finishing
Stitch the front and back pieces together along the shoulders and sides.
Using a crochet hook one size smaller, work an elastic ribbing of your choice around the armholes, neckline, and waist.

Elastic Elastic Ribbing Stitch (Used in This Project)
To crochet the elastic ribbing:
- Join your yarn at any point along the edge where you want to begin ribbing.
- Using a smaller hook, chain three plus one chain to count as the first stitch.
- Work two half double crochet (hdc) stitches.
- Join the ribbing to the fabric with a slip stitch, inserting the hook directly above the height of the half double crochet row.
Ribbing Pattern
- Chain 1, work one single crochet (sc) into each of the next three hdc stitches.
- Chain 1 and turn, then work two hdc.
Repeat from * until the ribbing is worked all the way around the garment.

Final Notes
This vest is intentionally pattern-free. The shaping is achieved through observation, adjustment using personal measurement, rather than stitch counts.
This approach makes it easy to customize the garment by choosing different yarns and personal styles, while also building confidence and knowledge in garment construction.
After following this tutorial, don’t hesitate to showcase what you’ve created and share the amazing results you’ve achieved.
If you’d like to follow-up on more tutorials, art explorations, and DIY jewelry how-to’s and all creative ideas sharing, you’re welcome to join me on Facebook at The Creative Explorations, where I share updates, works in progress, and new posts.
Thanks for joining in on the Creative Explorations!


Leave a Reply