


Creating Luminous Focal Elements for a Future Bracelet Project
UV resin carries its own kind of magic.
Within minutes, liquid resin turns solid and luminous, curing with the help of a UV lamp — yes, even the same type commonly used for manicures.
It can be poured into molds, layered over textures, or used as a glossy sealer, beautifully preserving moments and materials in a lasting form. From enchanting jewelry pieces to bold, experimental surfaces, UV resin brings imagination to life and opens an exciting pathway to limitless creative exploration.
In this comprehensive, step-by-step video tutorial, we will craft luminous beads that will act as striking focal elements in our upcoming jewelry design — an elegant beaded bracelet project.
Before stepping into the crafting process, let us first understand what UV resin is and why it has become such a beloved material among jewelry makers and mixed-media artists.

What Is UV Resin?
UV resin is a type of liquid polymer that hardens when exposed to ultraviolet (UV) light. Unlike traditional two-part epoxy resin, it does not require mixing with a separate hardener. It is a single-component material, ready to use directly from the bottle.
Its appeal lies in its speed and simplicity.
While epoxy resin takes hours or even days to cure, UV resin’s ability to cure in just minutes under a UV lamp is a game-changer! This quick curing process makes it an exciting choice for small-scale projects like jewelry, charms, coatings, and detailed decorative elements, allowing creativity to flourish in no time at all.
With its clarity and beautiful glossy finish, UV resin is wonderfully perfect for crafting handmade fancy beads (and other jewelry components)! It blends effortlessly with glitter, pigments, mica powders, and inks, while also sealing surfaces to achieve a glass-like shine.
Treatment of UV Resin
UV resin contains special photoinitiators — chemical compounds that react when exposed to ultraviolet light.
Here is what happens:
- The resin remains liquid while protected from UV light.
- When placed under a UV lamp (or strong UV flashlight), the photoinitiators activate.
- A rapid polymerization process begins.
- The liquid resin transforms into a solid, durable material.
Curing usually takes:
- 1–2 minutes under a strong UV lamp
- Slightly longer with smaller UV flashlights
The thickness of materials is a significant factor. Thinner layers tend to cure more rapidly and uniformly, whereas thicker applications may necessitate staged curing processes to prevent issues such as under-curing or surface tackiness.
The result is a beautifully smooth, glossy, and protected surface that proudly showcases the shape of the mold or the texture beneath it.
🛡️ Safety First
While UV resin offers convenience and is suitable for beginners, it is imperative to prioritize safe handling practices.
✔ Work in a Well-Ventilated Area
Always work in a room with good airflow. Open a window or use a fan if possible.
✔ Wear Gloves
Uncured resin should not come into direct contact with skin. Disposable gloves protect your hands from irritation.
✔ Avoid Direct UV Exposure
Do not look directly into the UV lamp while it is operating, and avoid exposing your skin unnecessarily to strong UV light.
✔ Use Resin-Dedicated Tools
Keep brushes and mixing tools separate from regular household items.
✔ Cure Completely
Ensure your pieces are fully cured before handling them extensively. If the surface feels sticky, cure again under the lamp.
Once it’s cured, UV resin is ready for use and completely safe to handle!
Materials and Tools Used in this Tutorial:

To begin our exciting journey of creating vibrant focal beads, let’s first collect our essential materials! Working with UV resin is joyful and efficient, but having everything ready ahead of time guarantees a wonderfully smooth and focused creative experience.
Now that our workspace is perfectly set up, we can dive into the step-by-step video tutorial and start creating our own UV resin beads!
You may choose to turn off the sound should you wish to experience the visuals devoid of background music
♻ Is Resin Production a Form of Waste Utilization?
Not in the environmental sense.
Modern petrochemical industries often operate within integrated systems designed to optimize resources and reduce internal waste. In such systems, byproducts from one process may become feedstock for another. This reflects industrial efficiency.
However, this is not the same as environmental recycling in the consumer sense.
UV resin is produced intentionally for use in coatings, adhesives, electronics, cosmetics, and craft applications. It is not created as a method of disposing surplus chemicals into useful products.
Understanding this distinction allows us to approach the material with awareness and responsibility.
🌿 The Honest Sustainability Perspective
Using UV resin:
✔ Does not reduce chemical waste production
✔ Does not prevent environmental dumping
✔ Does create long-lasting plastic objects
However, when used in:
- Small batches
- Durable designs
- Non-disposable art
- Heirloom-style jewelry
Its environmental impact is significantly lower than that of mass-produced, disposable plastic accessories.
Intent, scale, and longevity matter.

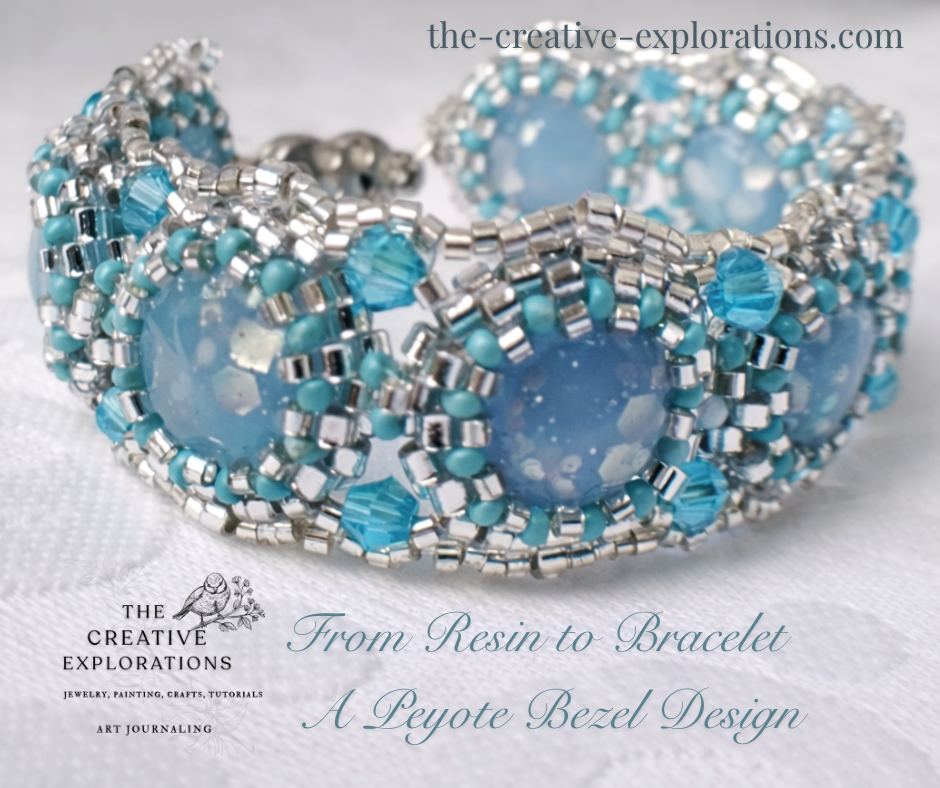
These beads are bound to shine as the captivating focal elements of our upcoming bracelet design! Their delightful soft blue tone paired with a subtle silver shimmer will not only anchor the composition but also infuse it with balance and a radiant luminosity that will elevate the entire piece.
In the next project, we will explore how to use bead weaving to create structure, introduce contrasting textures, and build an elegant beaded bracelet around these handcrafted, luminous, two-sided rivoli-style beads we have just created.
This is only the beginning of the design story.

If you enjoyed the How to make light blue UV resin beads with silver glitter, continue this bead journey with the peyote bezel bracelet tutorial that highlights the beautiful handmade UV resin cabochons you’ve just crafted, and delight in the joy of creating elegant vintage-style beadwork with easy-to-follow step-by-step instructions.
To keep exploring beadwork and resin techniques with me:
- Subscribe to the blog for upcoming tutorials and exciting arts and crafts projects
Join and Stay tuned for post updates, work-in-progress and new tutorials that are on the way!
- 🌿 YouTube
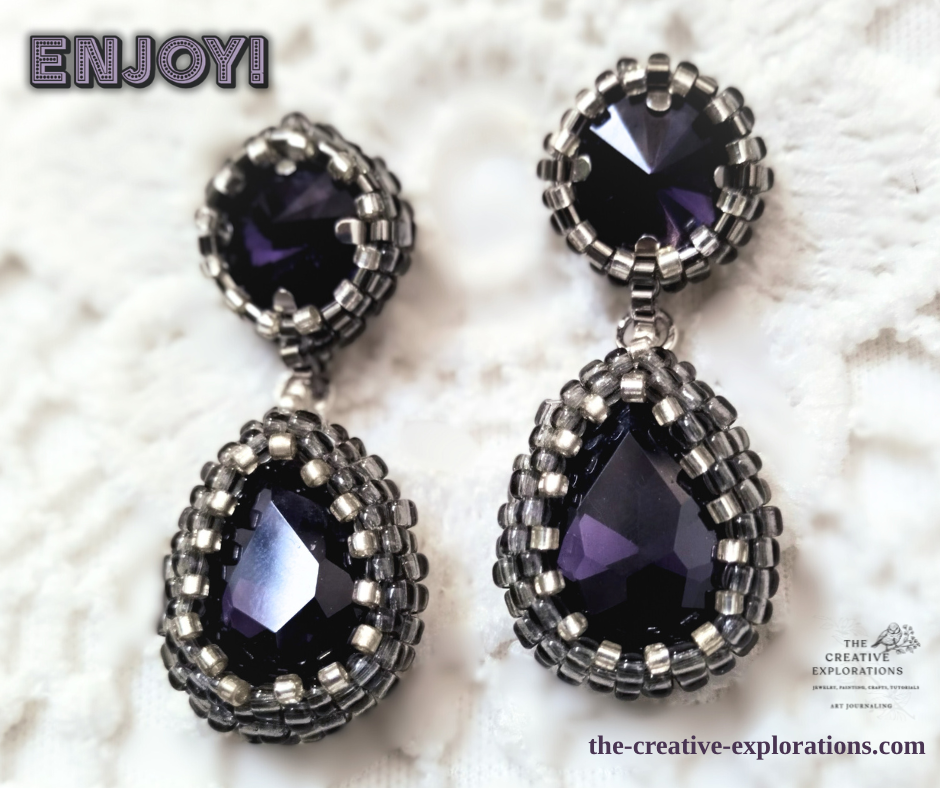
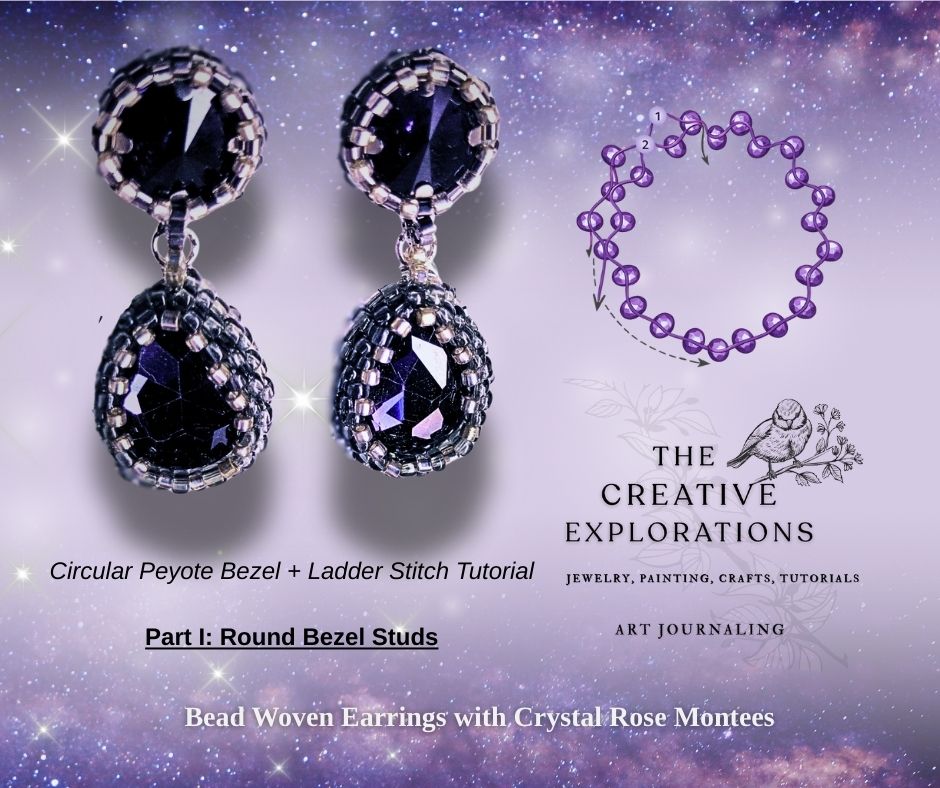
You might also like the DIY Black, Purple and Silver UV Resin Beads tutorial
Thank you for visiting!
The Creative Explorations


Leave a Reply