
Welcome to the First Tutorial in Our Resin Jewelry Series!
This marks the beginning of a creative journey—starting with the very first step in making a necklace. And yes, there’s more to come! Future tutorials will guide you through polishing, designing, and assembling your finished pieces.
In This Tutorial: Creating Resin Beads
We’ll begin by crafting the beads, which is a fantastic way to experiment with materials and test combinations before diving into larger projects. It’s also a great opportunity to explore how different pigments and additives can showcase resin.
Prep Your Resin Colors
I like to prepare my colored resin ahead of time by mixing pigments, alcohol inks, or mica powders into small plastic bottles of resin. This makes the process smoother and lets you focus on the fun part—creating!
Set the Mood
Before you begin, gather your materials and create a calming atmosphere. Light a candle in a diffuser and choose an essential oil that brings you joy and helps you relax. Creativity flows best when you’re in a good headspace.
Materials Used in This Project
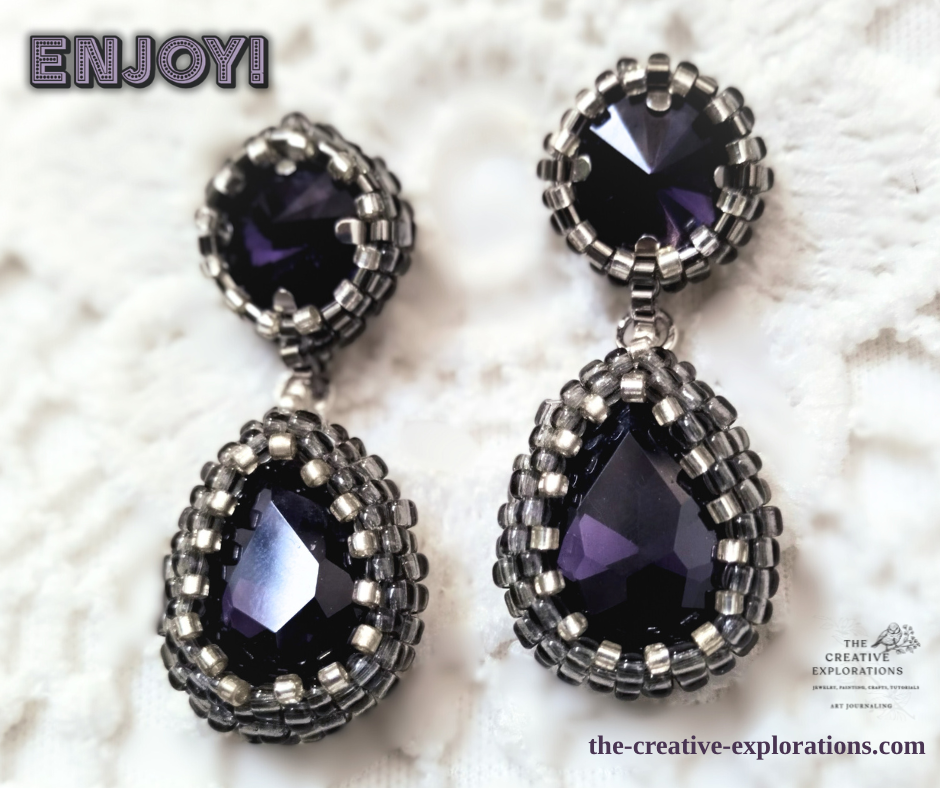
- Epoxy Resin: Crystal Clear, Black, and Purple
- Glitter: Purple and Silver
- Tools: UV Lamp, Bead Mold, Silicone Brush, Wooden Stick
Tips & Techniques
- Curing Time: While most instructions suggest 2 minutes for UV resin, I find out that curing for 5 minutes works best to ensure a durable, glossy finish that won’t dull over time.
- Mold Imperfections: Don’t worry if the mold isn’t perfect: molds usually aren’t. You can enhance your beads with jewelry findings like bead caps or add extra resin layers to refine the look.
- Finishing Touches: Trimming and polishing may be needed—don’t skip this step! We’ll walk through it together in an upcoming tutorial.
Beyond the Necklace
Once your beads are ready, why stop there? I used mine to create a necklace, a matching ring, and earrings. I also crafted a focal bead to anchor the design.
Stay Tuned
Subscribe and stay tuned with the next tutorials:
-Polishing techniques
-Jewelry design ideas
-Assembling your final pieces
Let’s Connect!
I’d love to see what you create! If you try this tutorial, share your work and your inspiration in the comments.
Follow our Facebook Page for regular updates, process glimpses, and new releases. We are sharing ideas and the artistry of handcrafted pieces.
Watch the Full Video Tutorials on My YouTube Channel: The Creative Explorations
Until next time—happy crafting!


Leave a Reply